Etsy is a visual platform. Buyers scroll a grid of thumbnails and click based on one thing: the main image. Everything else — your title, your price, your reviews — comes after. This guide covers how to take Etsy product photos that stop the scroll and convert the click.
Updated: April 2026
What Makes Etsy Photography Different?
Etsy photography is not Amazon photography. Amazon requires clinical white backgrounds that strip away context. Etsy rewards warmth, story, and lifestyle context. A product that looks great on Amazon can look sterile and mass-produced on Etsy. The same product needs a completely different visual treatment.
The Problem
GreenOnion.ai Etsy product image generator - generate professional images from one photo, no photoshoot needed.
Most new Etsy sellers default to white backgrounds because that's what "product photography" means to them. White backgrounds on Etsy signal mass production — the opposite of what Etsy buyers are looking for. The result is a listing that looks out of place in a marketplace built on handmade authenticity.
Who This Is For
New Etsy sellers setting up their first listings. Existing sellers with low click-through rates on their search thumbnails.
How to Take Photos Etsy Buyers Click On
Step 1 — Choose your surface. Linen, raw wood, marble, stone, aged paper — any natural texture that matches your product's aesthetic. Avoid white, glossy, or synthetic surfaces.
Step 2 — Set up your light. Position your surface 1–2 meters from a window with indirect natural light. Overcast days are ideal. No artificial lighting — it reads as commercial.
Step 3 — Style with props. 3–5 complementary objects that reinforce your product's world. Botanicals, ribbon, small ceramics, natural found objects. Props should support the product, not compete with it.
Step 4 — Follow the 4-stage arc. Product → Context → Interaction → Emotion. Start with clean product shots, build through styled scenes, add hands, then full person if possible.
Step 5 — Shoot your main image last. After you've warmed up and refined the setup, shoot the image that will appear as your thumbnail. It needs to work at 160px — simple, clear, compelling.
Etsy Image Types by Stage
| Stage | Image Type | Job |
|---|---|---|
| Product | Clean flat lay | Show what it is |
| Context | Styled scene | Show where it lives |
| Interaction | Hands in frame | Show how it's used |
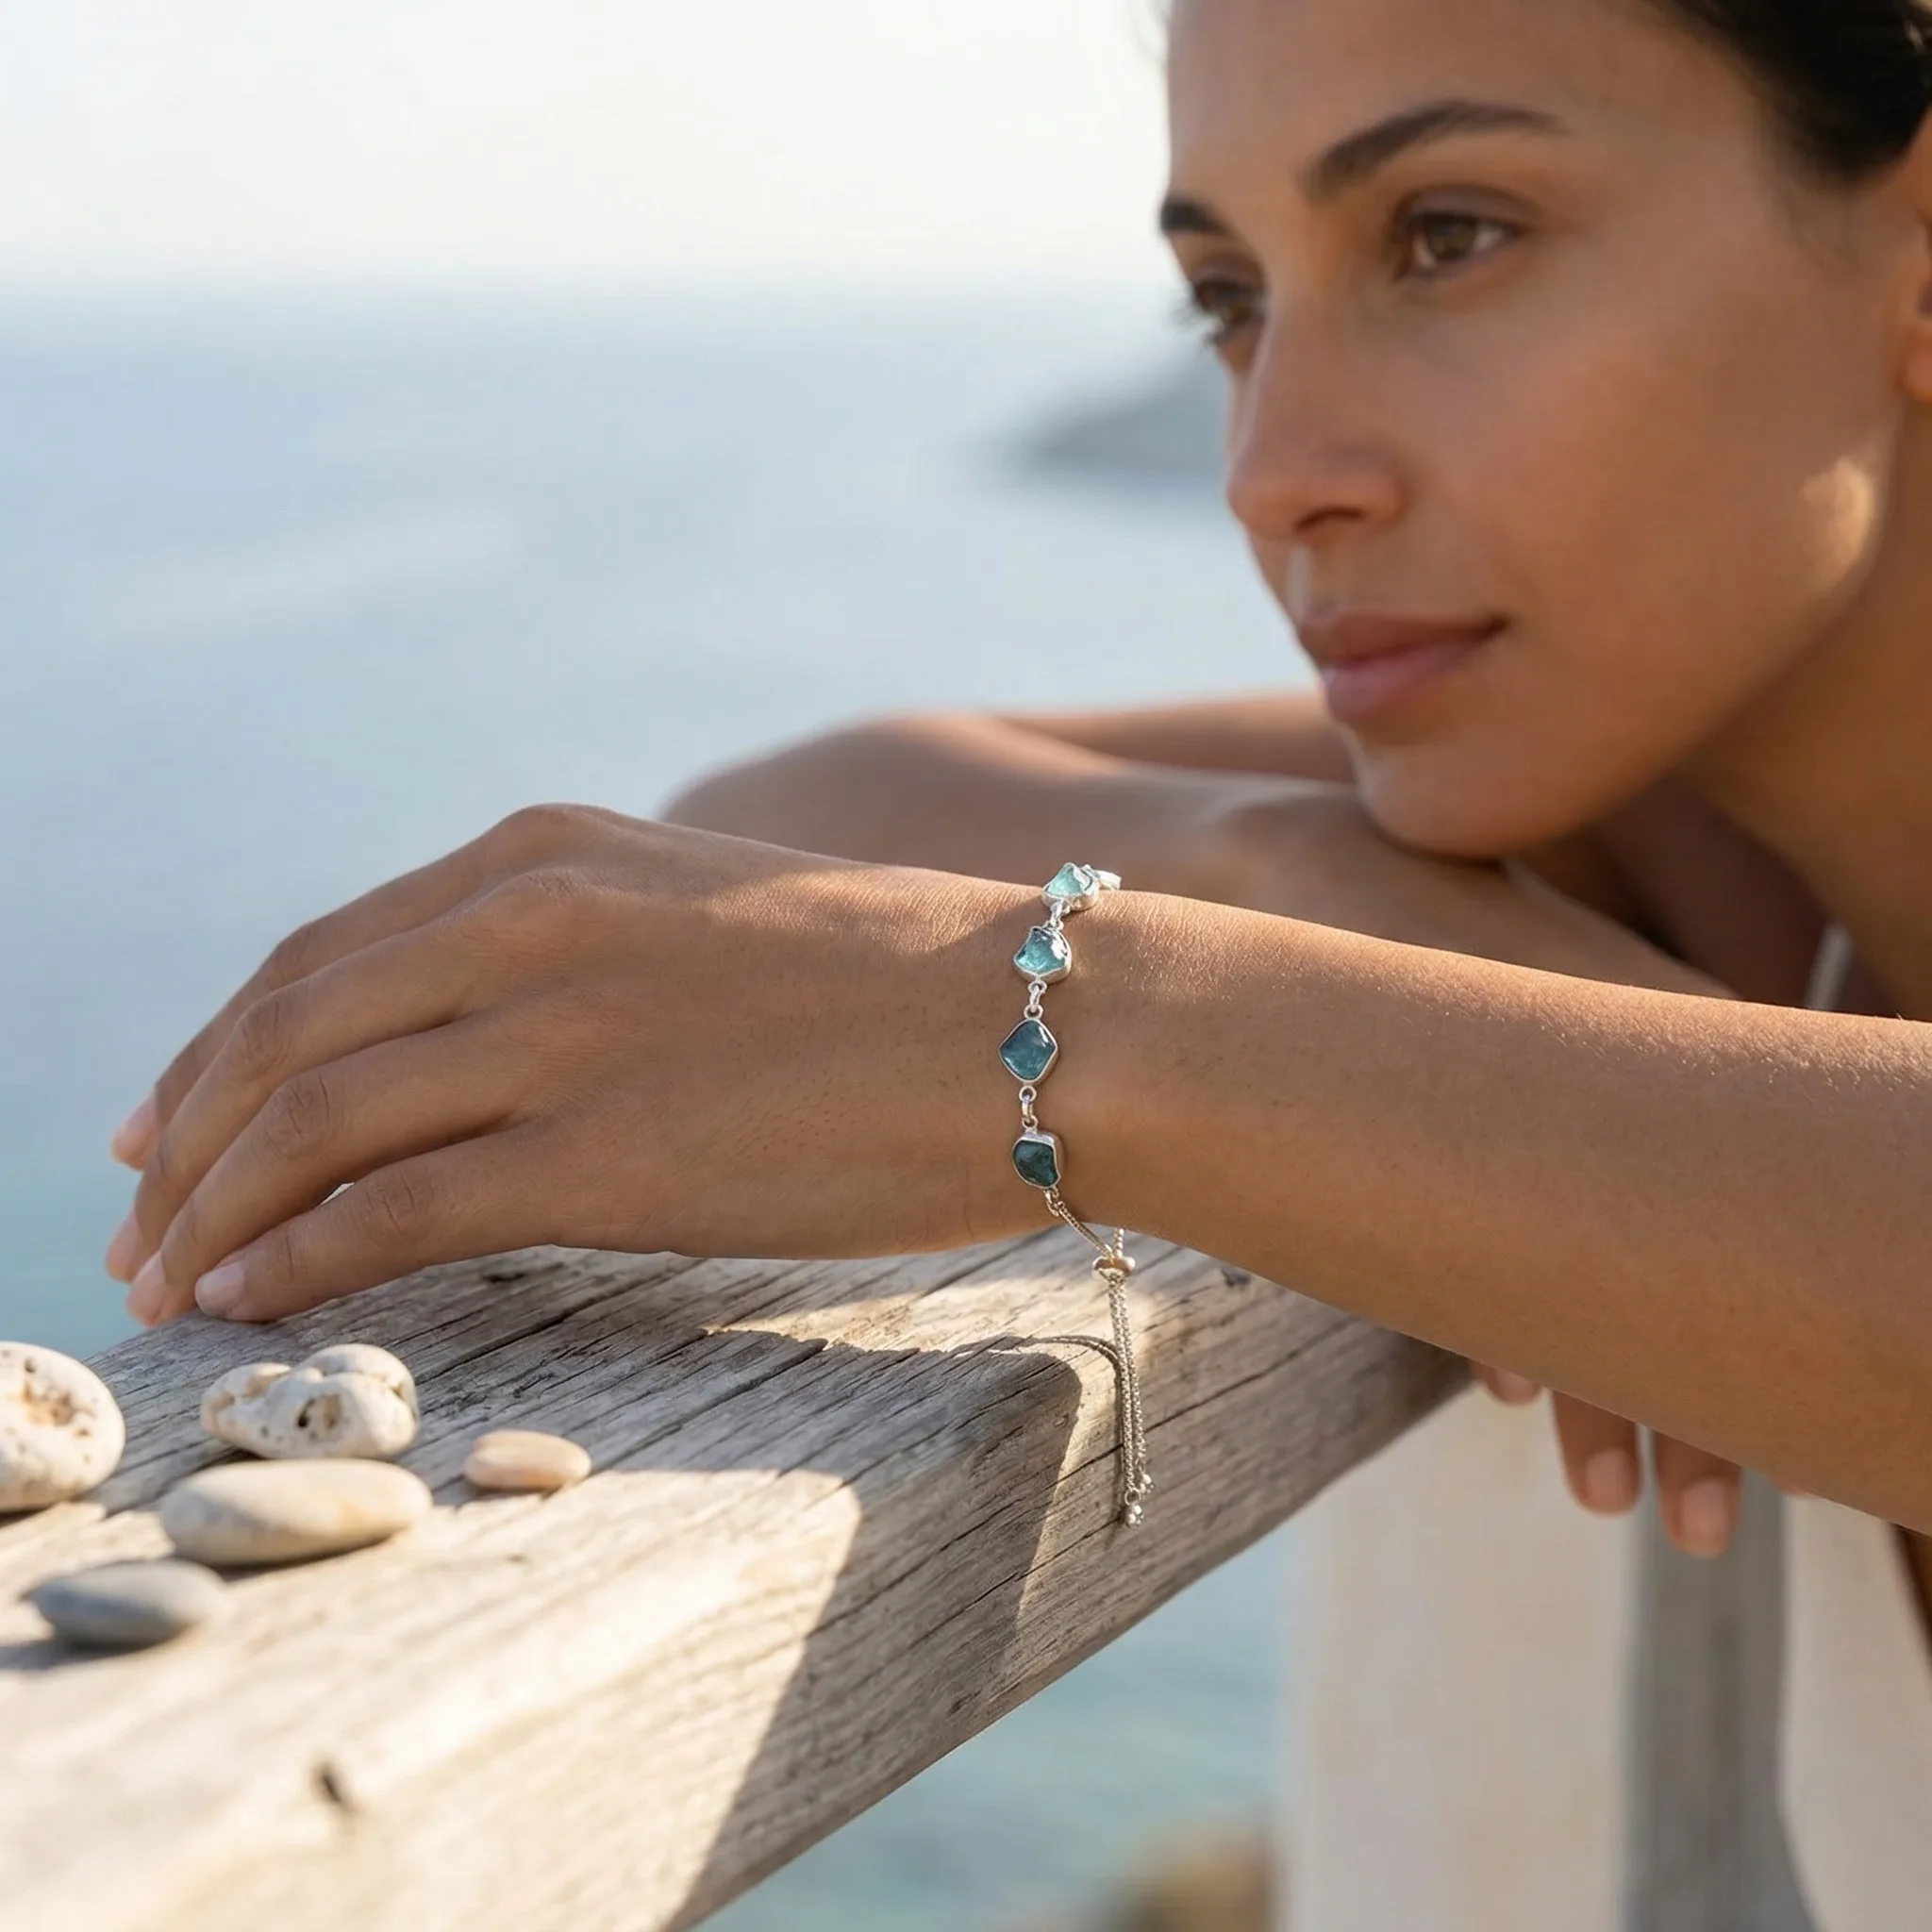
| Emotion | Full person, face visible | Show how it feels |
GreenOnion tip: Tools like GreenOnion let you generate styled lifestyle scenes around your product without props, backdrops, or a photographer.
FAQ
Should my Etsy main image have a white background? For most handmade products, no. A styled natural surface outperforms white on Etsy. White signals mass production to Etsy buyers.
How many photos should an Etsy listing have? Use all 10 slots if possible. More images give buyers more reasons to stay and more confidence to purchase.
What time of day is best for Etsy product photography? Within two hours of sunrise or two hours before sunset for golden hour light. Overcast days at any time are excellent for even, shadowless light.
Create lifestyle scenes that convert on Etsy
Upload your product photo — GreenOnion generates the styled, contextual images Etsy buyers respond to, without props or a photographer.
Generate Etsy photos freeRelated Articles
eCommerce Product Photography: The Seller's Complete Guide (2026)
Everything ecommerce sellers need to know about product photography in 2026 — requirements, strategies, and how AI generates professional images instantly.
Product PhotographyHow to Change Product Photo Background With AI (2026)
Learn how to change product photo backgrounds with AI — for Amazon white backgrounds, Etsy lifestyle scenes, and Shopify brand aesthetics.
Amazon ListingAmazon Listing Images: What Every Seller Must Know (2026)
Complete guide to Amazon listing images — requirements, image types, best practices, and how AI generates a compliant 9-image set.